
This article applies to BOOST licenses
Purpose of the article
This article illustrates how to manually set up a project and lists the various essential steps.
Checklist (summary)
Mandatory and optional steps to be carried out
(*) Mandatory steps CONGRATULATIONS! Your project is now usable. On the way now to Create a new workspace in manual mode (+ checklist) | 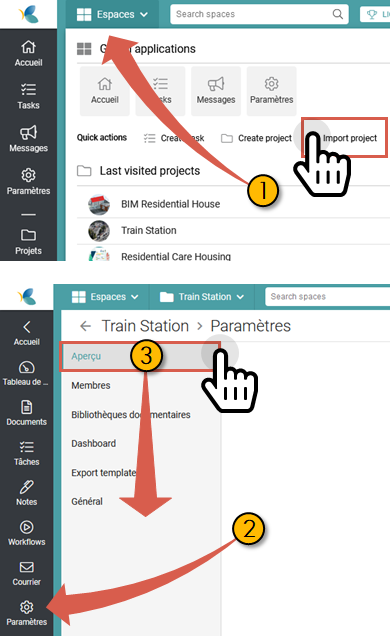 |
Prerequisite
- Creating a project requires project manager or administrator rights.
- Steps 5 and 11 require the site administrator to create connectors first
- Steps 6 through 10 require the site administrator to first configure maps and templates
Detailed procedure
1. Create or import a new project
To create or import a new project, go to Create or import a new project
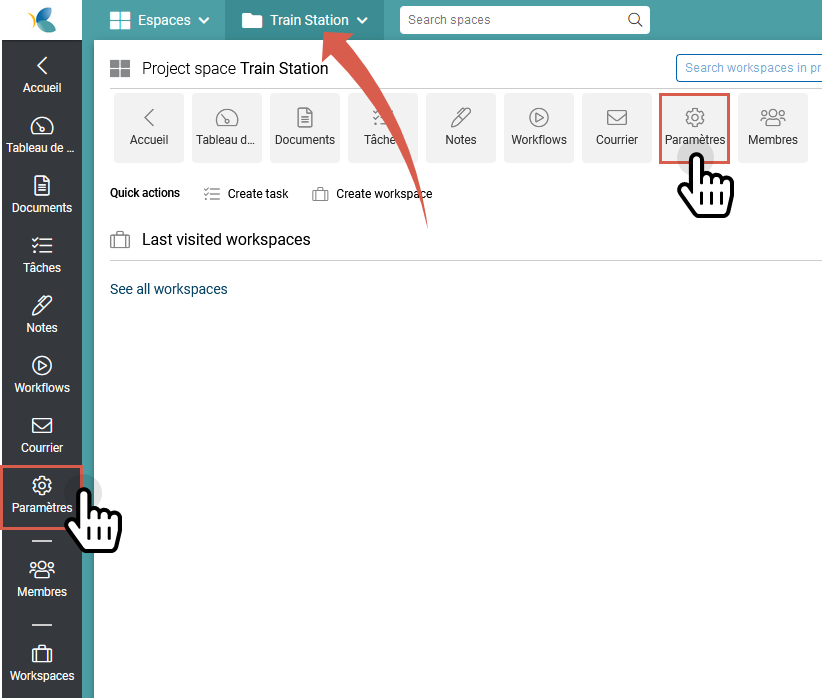
2. Access project settings
To access the project settings,
- Use the context menu on your left
- Or the breadcrumb trail in the top bar
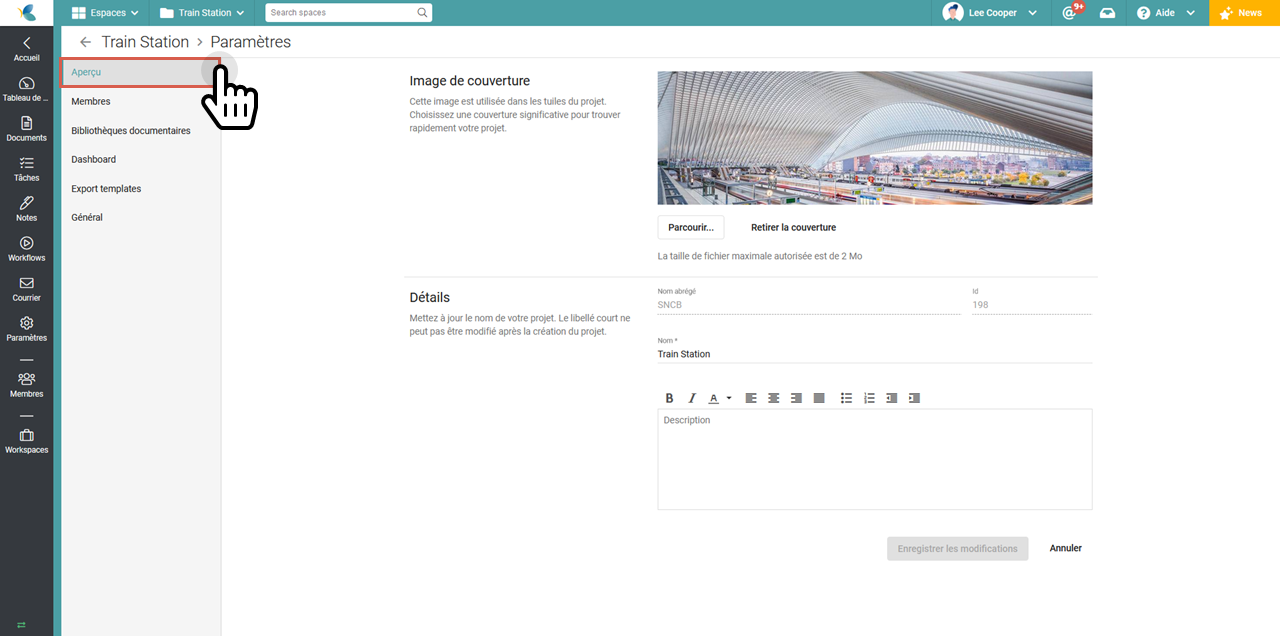
3. Add a cover image and define the project details
From the submenu on your left, choose the Preview tab
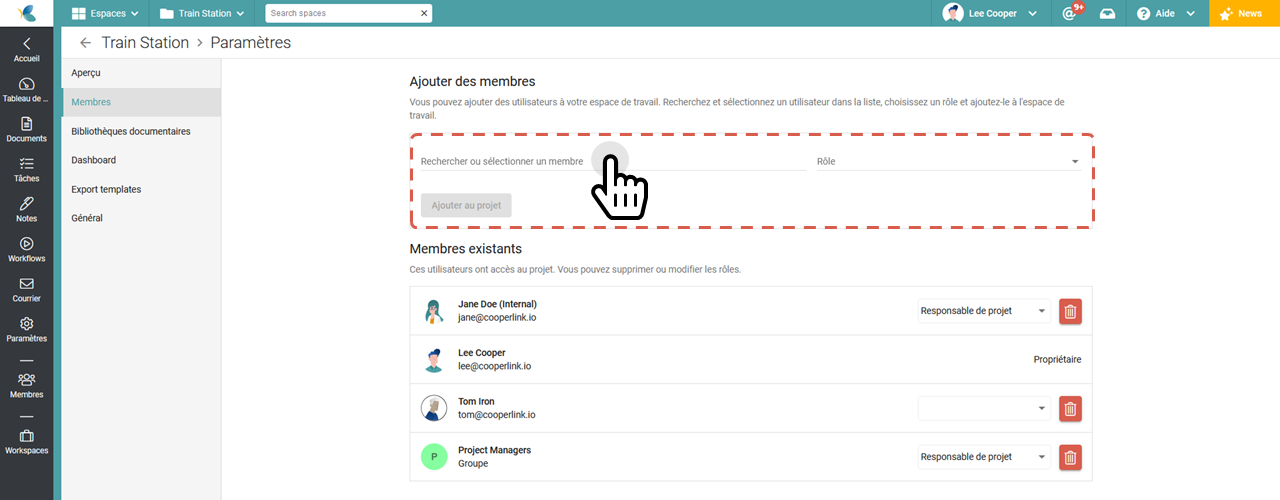
4. Add project members
In the submenu on your left, choose the Members tab, add users, and assign them a role.
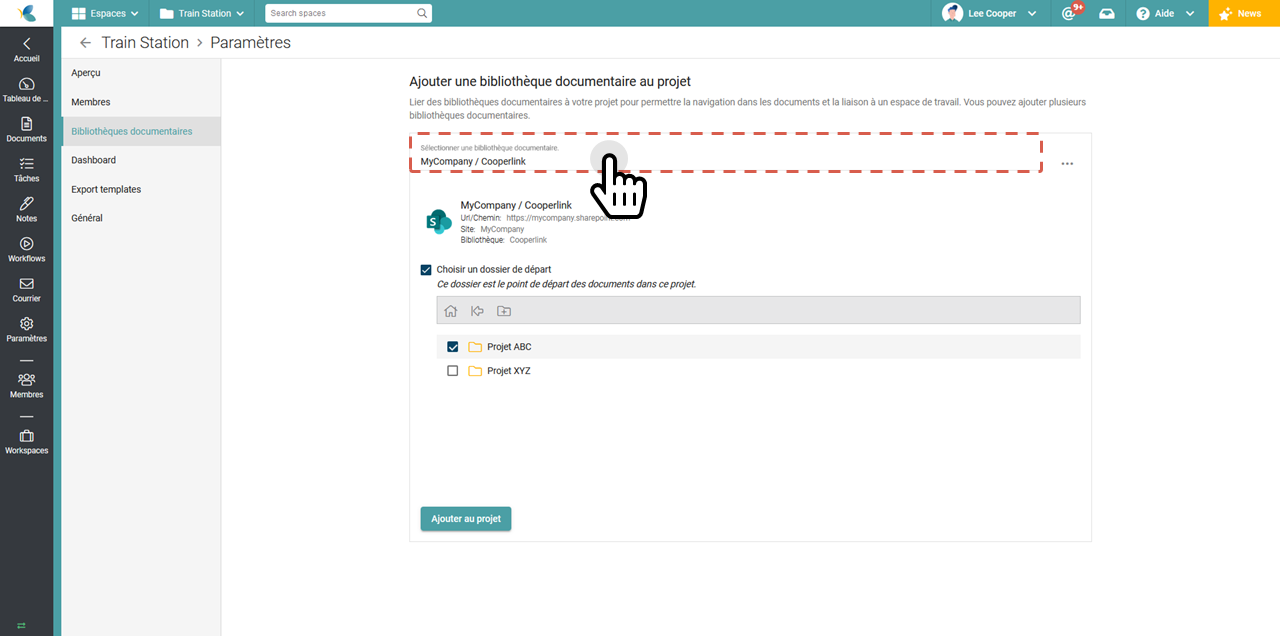
5. Add one or more document libraries
Choose the Document Libraries tab. This links the project to your business tools. Beforehand, your site administrator created connectors. Choose the connector for your data store and choose a home folder. The latter will become the root folder of the project in Cooperlink.
6. Define the project card
Choose the Dashboard card. The project map allows you to enrich your project with metadata. Select a previously configured card in the app settings.

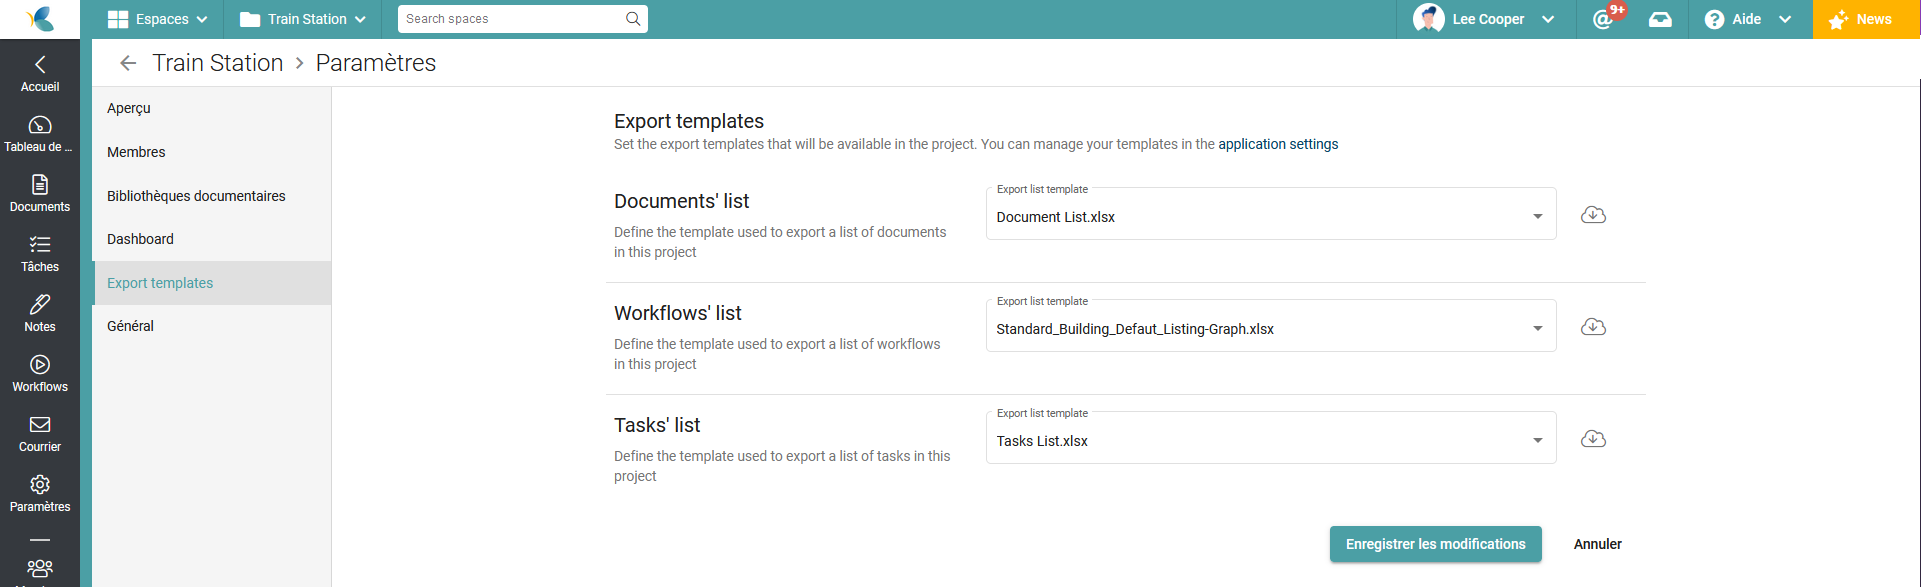
7. Define list export templates (excel)
Choose the Export Templates tab. List export templates allow users to export custom listings in Excel format. These listings have been previously configured in the application settings.
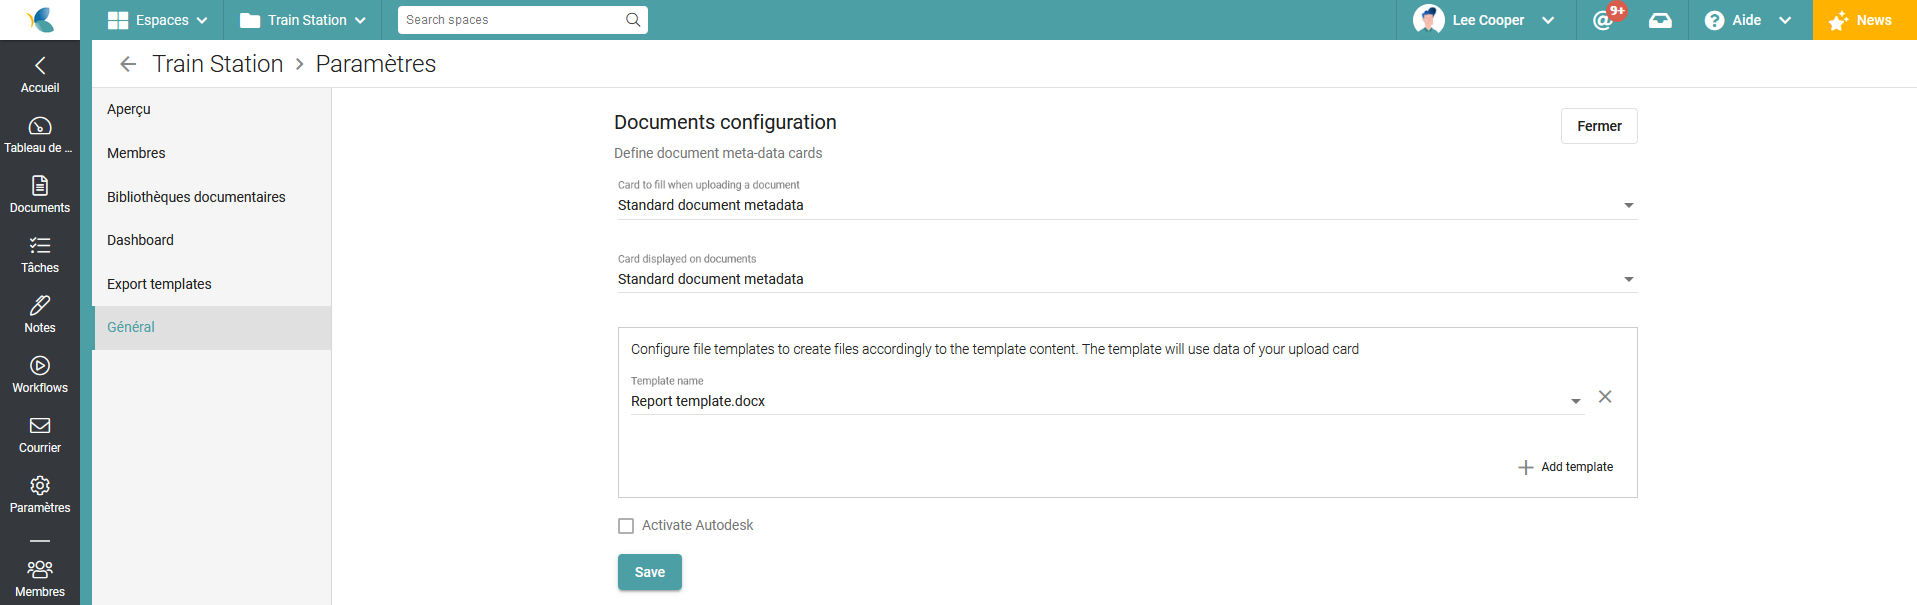
8. Configure document management
Document cards allow documents to be enriched with metadata during filing and/or viewing. Blank document templates allow you to create new documents from reference documents.
Choose the General tab > Documents Configuration section. This requires prior configuration of blank maps and/or document templates.
- Set the document map to display when uploading a document
- Set the document map to display when selecting a document
- Define the blank document templates applicable to the project.
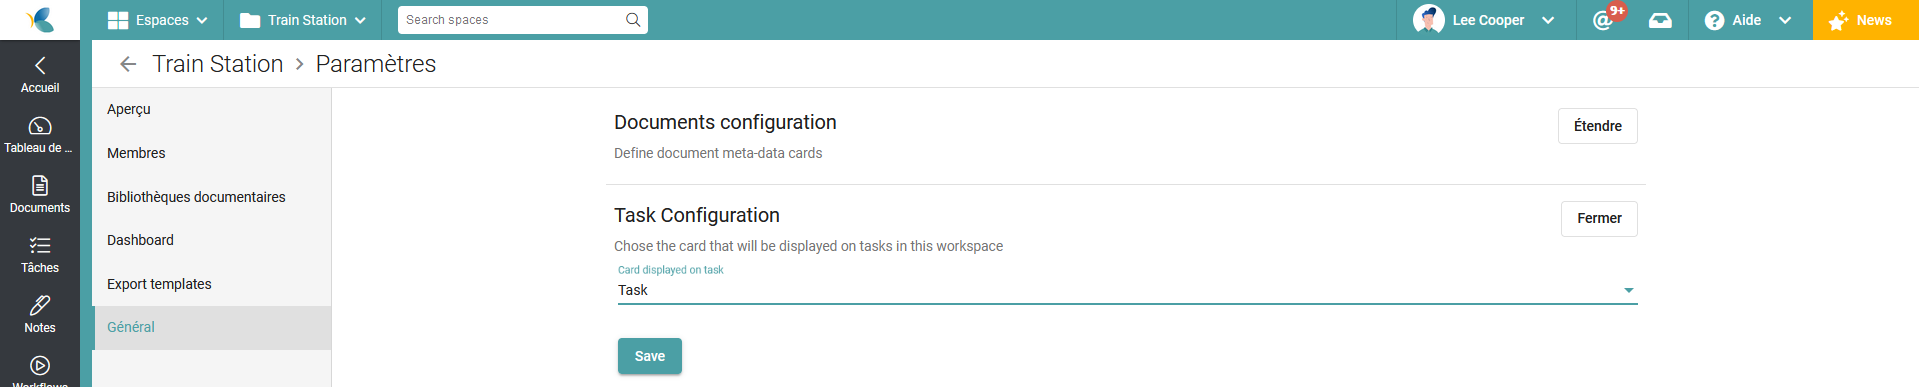
9. Configure task management
Task cards are used to enrich tasks with metadata.
Choose the General tab > Tasks configuration section. This requires a prior configuration of cards.
- Define the task card to use
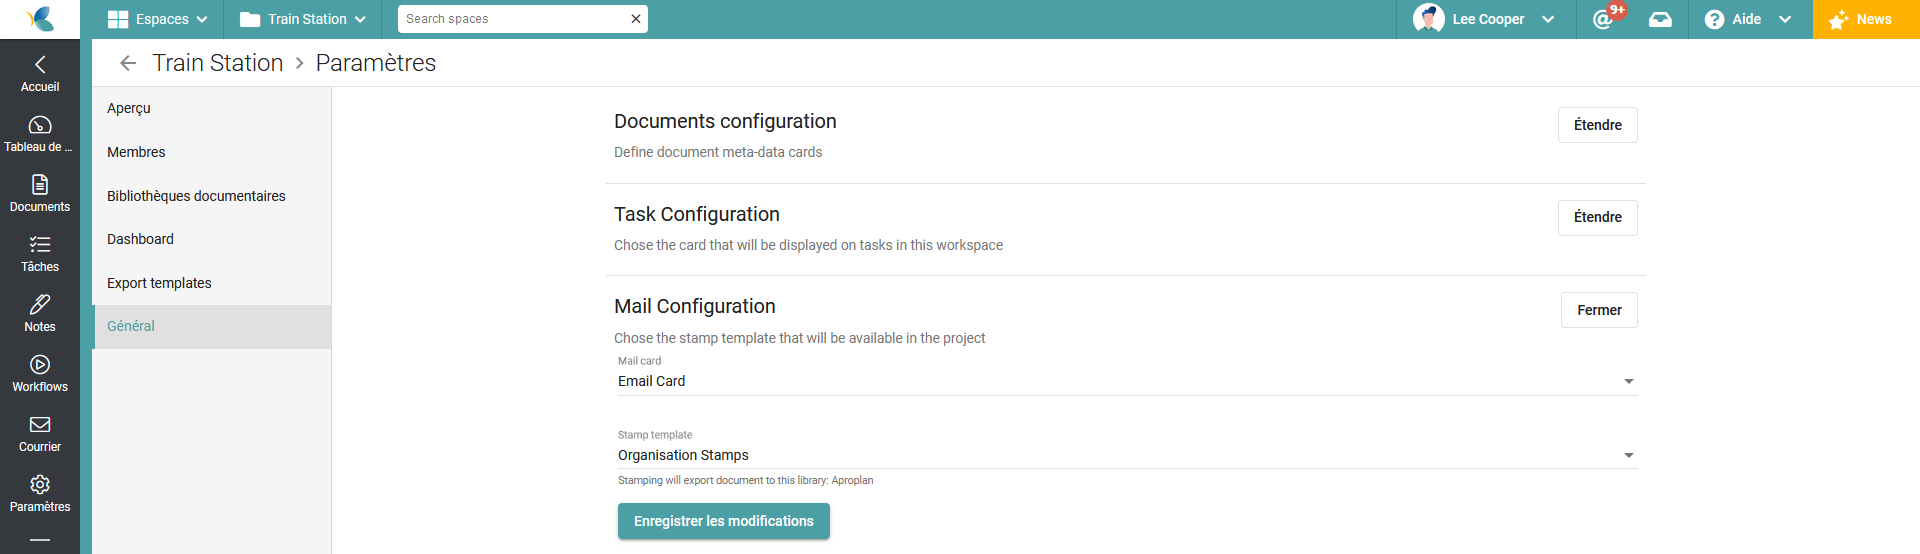
10. Configure correspondence management
Correspondence cards are used to enrich correspondences with metadata. Stamps are used to automate the classification of emails.
Choose the General tab > Mail Configuration section. This requires a prior configuration of cards.
- Define the card to use
- Define the stamp template to use
11. Enable Autodesk Forge CAD/BIM Viewer
Autodesk Forge Viewer allows you to view more than 80 CAD/BIM file formats (including DWG, IFC, RVT, ...).
Choose the General tab > Documents Configuration section. Select the Enable Autodesk Forge Viewer check box
